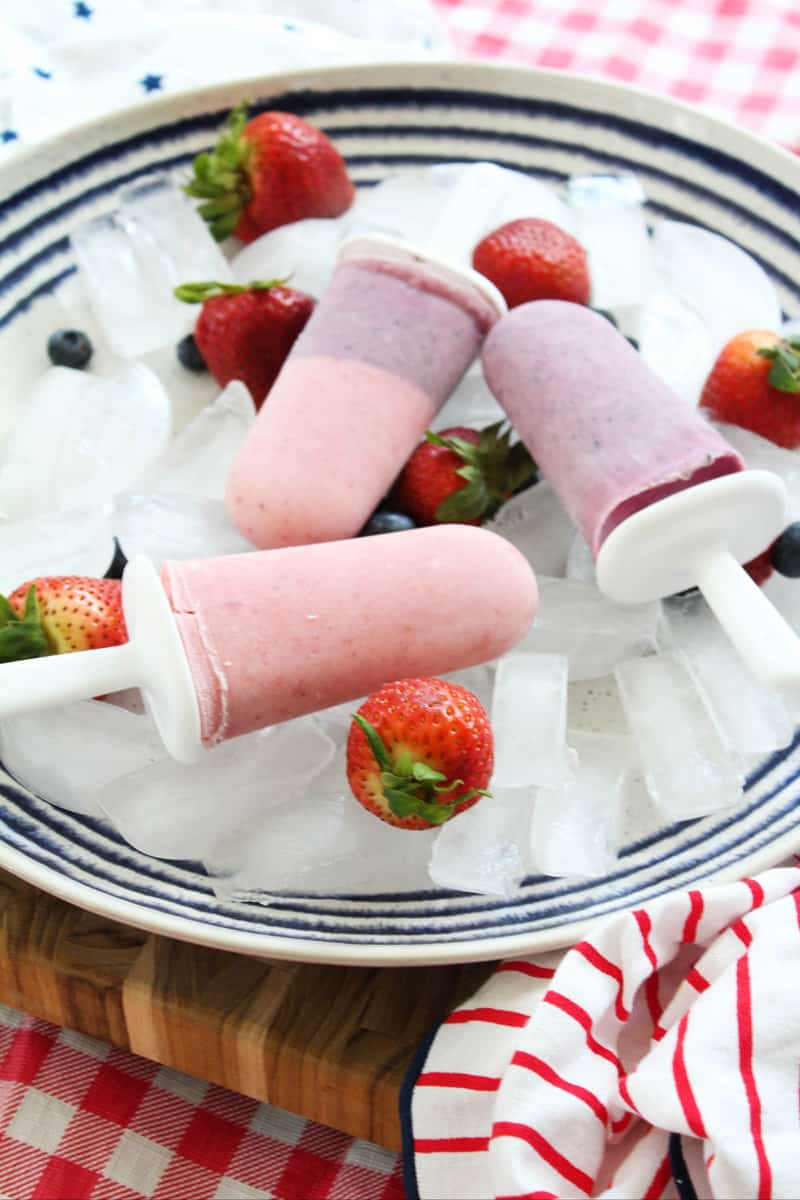
These Yogurt Popsicles are super easy to make. They are healthy and will keep you cool all summer long!
Summer is in full swing. Late nights playing outside, going swimming at the pool, and my boys playing baseball!
My son is in coach pitch, and loving it. My youngest is playing tee ball for the first time, and he is definitely having fun! My husband is helping coach both teams, and he is loving it more than them I think!
These long hot days, we need to take time to relax and cool down. I love these popsicles because I know they are healthier than store bought, and made with good ingredients.
How to make Yogurt Popsicles:
These yogurt popsicles are super easy to make. Get your food processor or blender and and let's blend up some summertime fun!
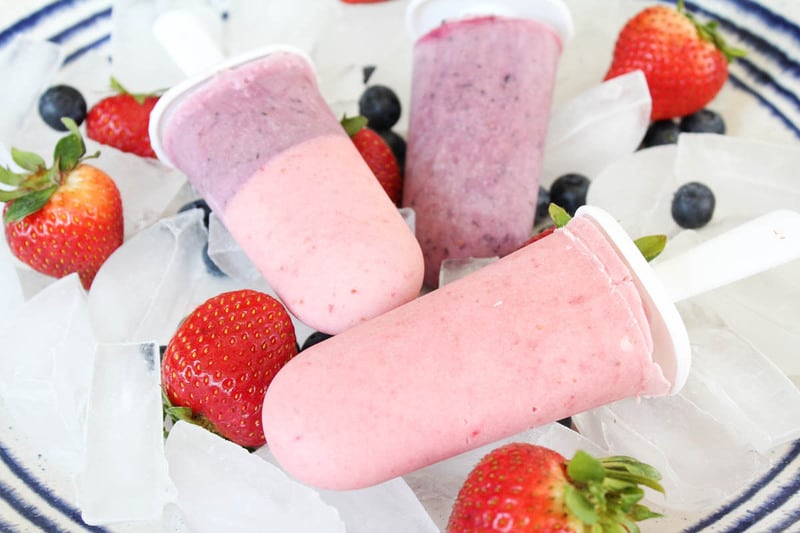
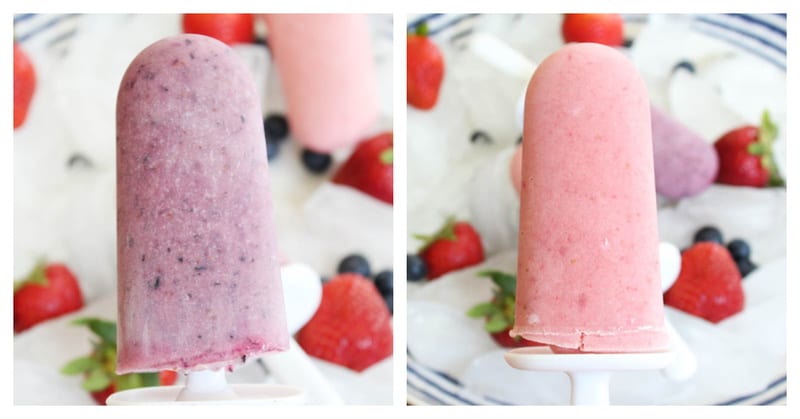
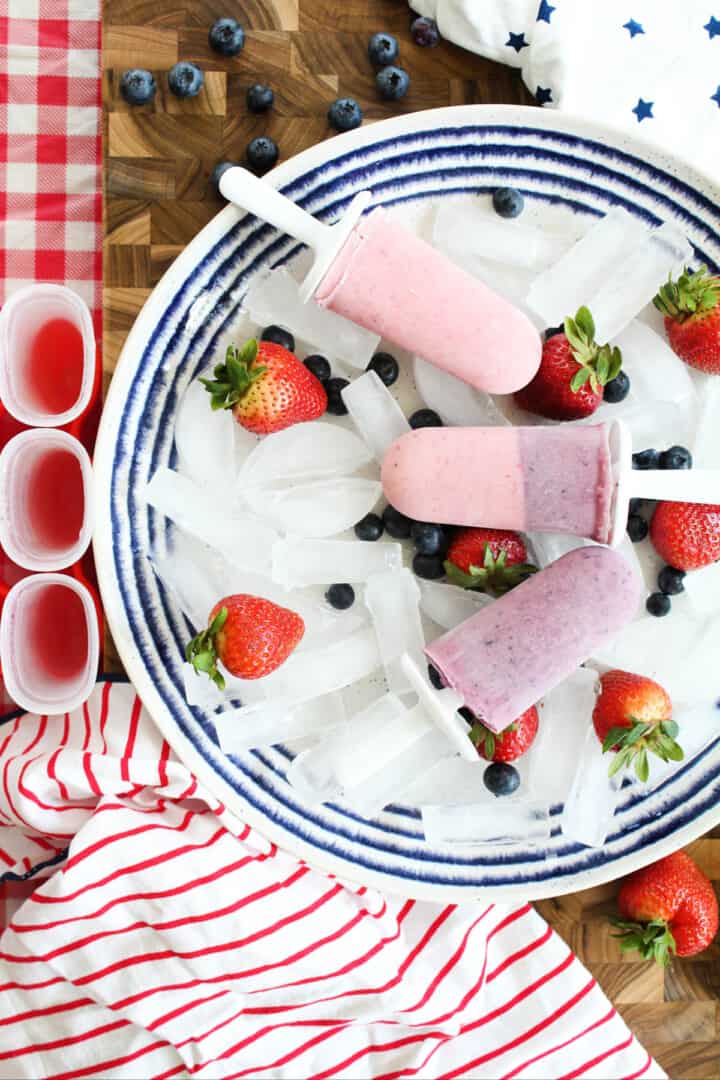
These creamy, fruity popsicles will be your families favorite treat this summer.
These usually only last one day in my house. Nice thing is, they are so easy to make, you can make a second or third batch really quickly!
Ingredients:
- Strawberries
- Blueberry
- Vanilla Yogurt
- Heavy Whipping Cream
- Sugar
Directions:
Step One - Add blueberries to a food processor and blend until smooth. Put the blueberry puree into a medium size bowl and set aside.
Step Two - Add strawberries to a food processor and blend until smooth. Put the strawberry puree into a medium size bowl and set aside.
Step Three - Make the vanilla yogurt base by whisking together the vanilla yogurt, whipping cream, and sugar until sugar has dissolved in a medium mixing bowl.
Step Four - Divide the vanilla yogurt/cream mixture equally between the fruit purees and mix well.
Step Five - Now you can start to assemble your popsicles by pouring into molds. Place your popsicle molds on a flat surface and using a spatula or spoon to help, gently pour the mixture into the molds.
- Tip: Gently tap your molds on the counter to help the mixture to settle and fill in any air gaps.
Step Six - Freeze for 3-5 hours until solid or overnight.
How to remove the popsicles from the molds:
One thing about using molds to make the popsicles, you have to get them out in order to enjoy them. No one likes trying to pull their popsicle out of a mold and it just breaking cause of them being frozen.
There are a couple of tricks you can do. Here are the ways I recommend getting the popsicles out of the molds to eat.
- Take the popsicles and out of the freezer and place them in the refrigerator for a few minutes. This should keep them cool ensure to not lose their integrity when removing from the mold.
- You can also try running the molds under warm water for a few seconds. Don't do it too long, as warm water could cause the popsicles to melt quicker.
How many popsicles does this recipe make?
This recipe will make as many popsicles as your molds will allow. I have a 10 popsicle mold, similar to this mold.
I was able to make 6 good full size popsicles and 1 smaller one with this recipe.
If you have only a 4 popsicle mold, put any leftovers of the popsicle mixture you have in a freezer safe container. Freeze it for a nice frozen treat later!
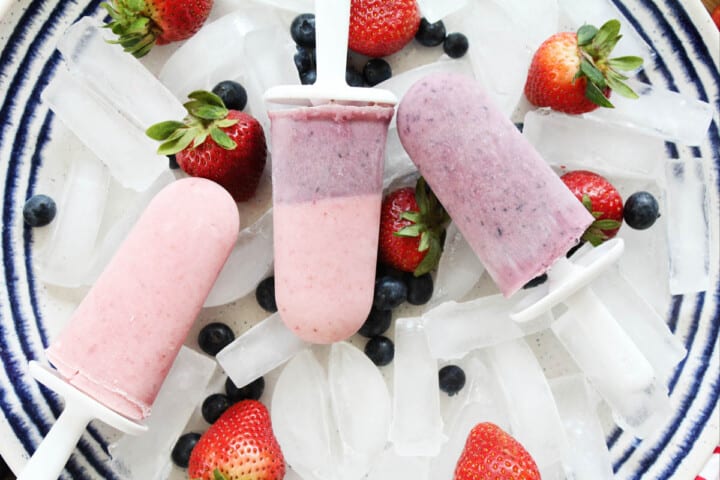
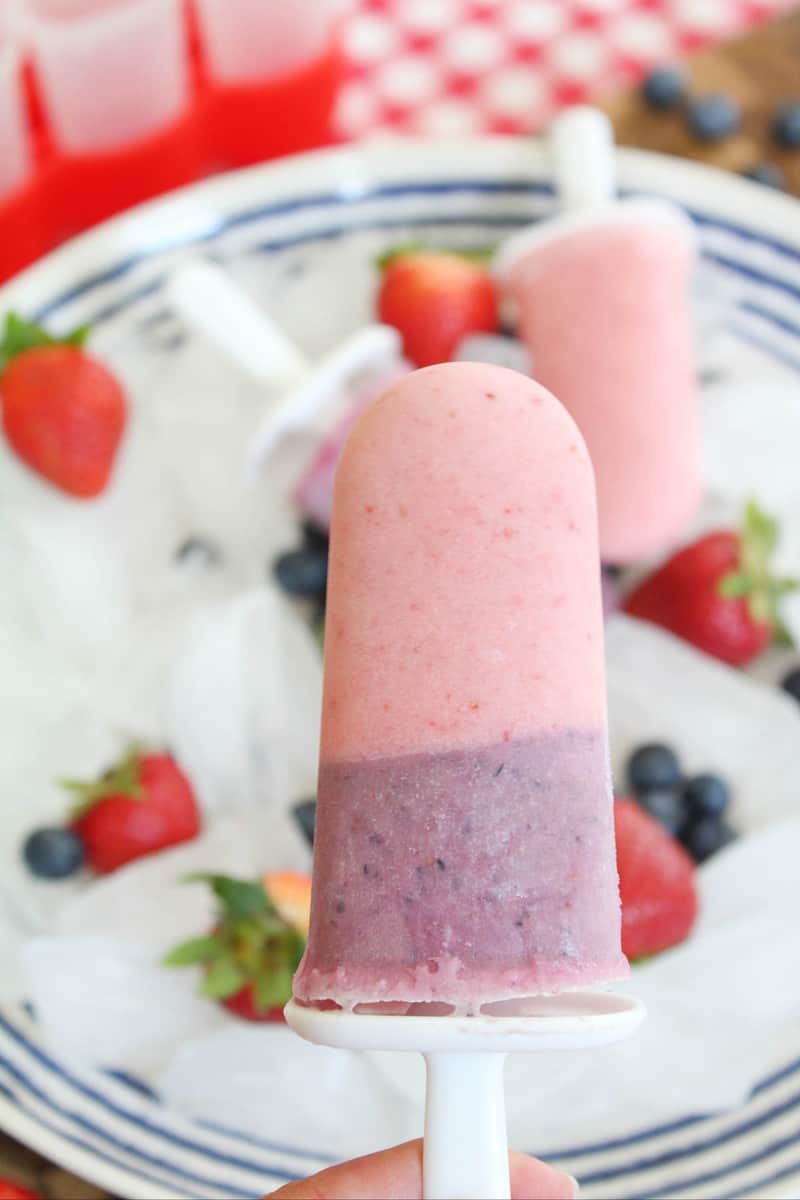
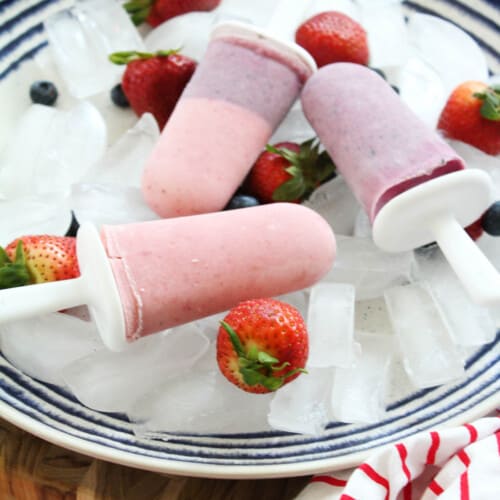
How to make multi-layered popsicles:
One cool and fun thing to do with this recipe is to make a layered pop! Who wouldn't want a Strawberry and Blueberry Popsicle?? So basically follow the directions as above, but when you get to the part where you have to fill your molds, fill your molds only halfway.
Fill the molds halfway, then put the molds in the freezer for about 30-45 minutes. You want them to set and start to freeze a little.
After that time in the freezer, bring them out, and pour the other mixture on top of the halves you just made. Then freeze for the remaining 3+ hours or overnight.
If making these layered popsicles, when you put your first layer in the freezer make sure to put the remaining mixture in the refrigerator to keep cold.
How long do will these popsicles last?
Well in my house, I'll be lucky if they last the day, hahaha! Ideally once they are frozen, you would want to transfer them out of the molds and into a freezer safe zip lock bag or container.
This will allow you to keep them out of the freezer air, and protected. Ideally these popsicles are best if eaten within 7-10 days once made.
Can I use frozen fruit for this recipe?
This answer is easy, but I say it with a certain caveat. Yes, you can use frozen fruit for this recipe. Here is the caveat.
Frozen fruit is great, but if blended or pureed while frozen, it is very chunky and icy. Frozen fruit should be thawed before blended for these popsicles.
That is why I used fresh fruit. Fresh fruit is ready to puree, and you won't have any added water from frozen icy fruit.
If you tried any of my recipes I would love to hear from you, leave me a comment below. You can also connect with me on FACEBOOK, INSTAGRAM, and PINTEREST. I would love for you to follow along and discover more amazing recipes.
Show me what you are making, use hashtag #TDOARH

Yogurt Popsicles
Ingredients
- 1 ½ cups whole strawberries greens removed - You can use frozen berries, just allow them to thaw first.
- 1 ½ cups blueberries You can use frozen berries, just allow them to thaw first.
- 1 cup vanilla yogurt
- 1 cup heavy whipping cream
- ½ cup sugar
Instructions
- Add blueberries to a food processor and blend until smooth.
- Put the blueberry puree into a medium size bowl and set aside.
- Add strawberries to a food processor and blend until smooth.
- Put the strawberry puree into a medium size bowl and set aside.
- Make the vanilla yogurt base by whisking together the vanilla yogurt, whipping cream, and sugar until sugar has dissolved in a medium mixing bowl.
- Divide the vanilla yogurt/cream mixture between the fruit purees and mix well.
- Now you can start to assemble your popsicles by pouring into molds.
- If you would like to layer your popsicles, fill up your popsicle molds about ½ of the way with the strawberry flavor and freeze for 30 mins (just to help it set a bit).
- While you are waiting for each layer to freeze, put the blueberry mixture in the refrigerator until ready for use.
- Freeze for 3-5 hours until solid or overnight.
Notes
- Take the popsicles and out of the freezer and place them in the refrigerator for a few minutes. This should keep them cool ensure to not lose their integrity when removing from the mold.
- You can also try running the molds under warm water for a few seconds. Don't do it too long, as warm water could cause the popsicles to melt quicker.
Nutrition

Leave a Reply