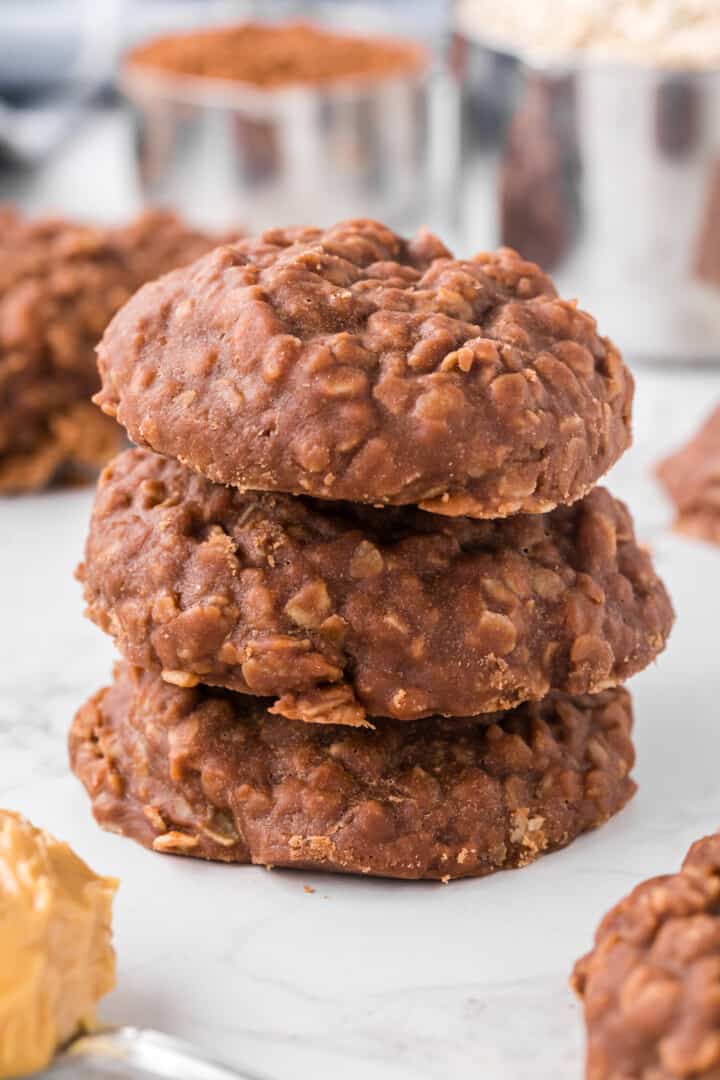
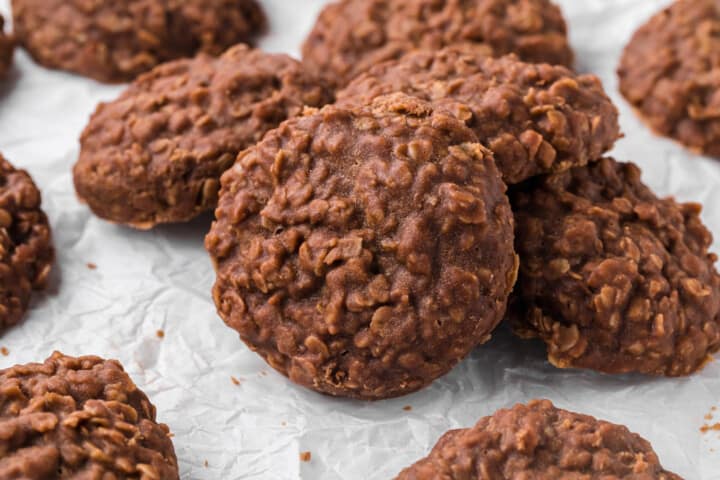
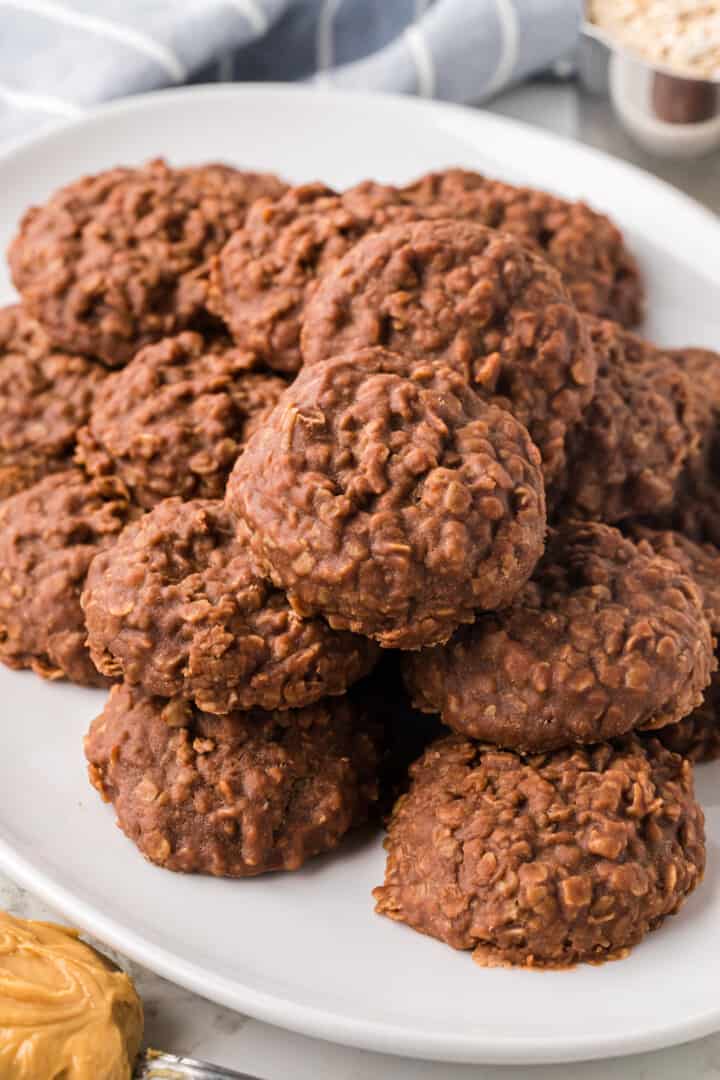
My all-time favorite cookie recipe! Just a few ingredients and no time in the oven for these delicious No-Bake Cookies. Yes, I cook and bake every day, but my favorite cookie is a No-Bake Cookie!
Finding the best way to make No Bake Cookies:
These No Bake Cookies can sometimes have a mind of their own. I have made them for years and was never able to get them right every time.
Sometimes they would set and sometimes they stayed wet. They still tasted amazing wet, but no one wants to have to use a spoon to eat cookies.
I tested and tested this recipe. I think I have finally found a no-fail recipe. Just follow the easy steps in order and watch the time.
I found that in the past I let them boil too long or not long enough. And even adding in too many ingredients at one time changed the outcome of my cookies.
Give them and try and let me know how they turn out for you!
How to make No Bake Cookies:
It has been a trial-and-error process for me to get this recipe correct and to the standard of a perfect No Bake Cookie.
Watch Closely: The trick to this recipe is constantly stirring and watching the ingredients as they come to a boil.
When the ingredients boil stop stirring but still watch it closely. If you over cook the No Bake Cookies this will ruin them.
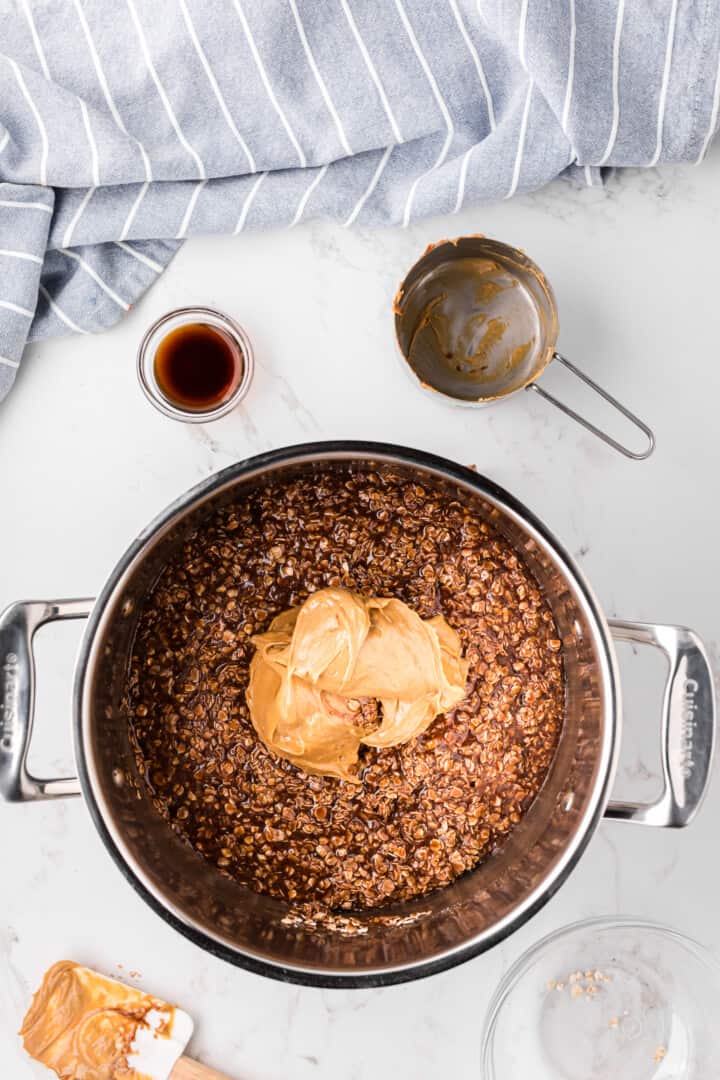
Mix: After it boils add in the oats and the peanut butter. Mix it all together well, then add the vanilla and mix some more.
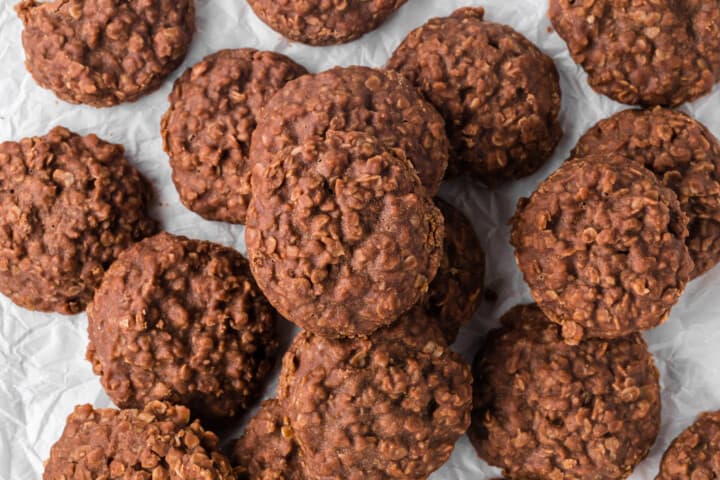
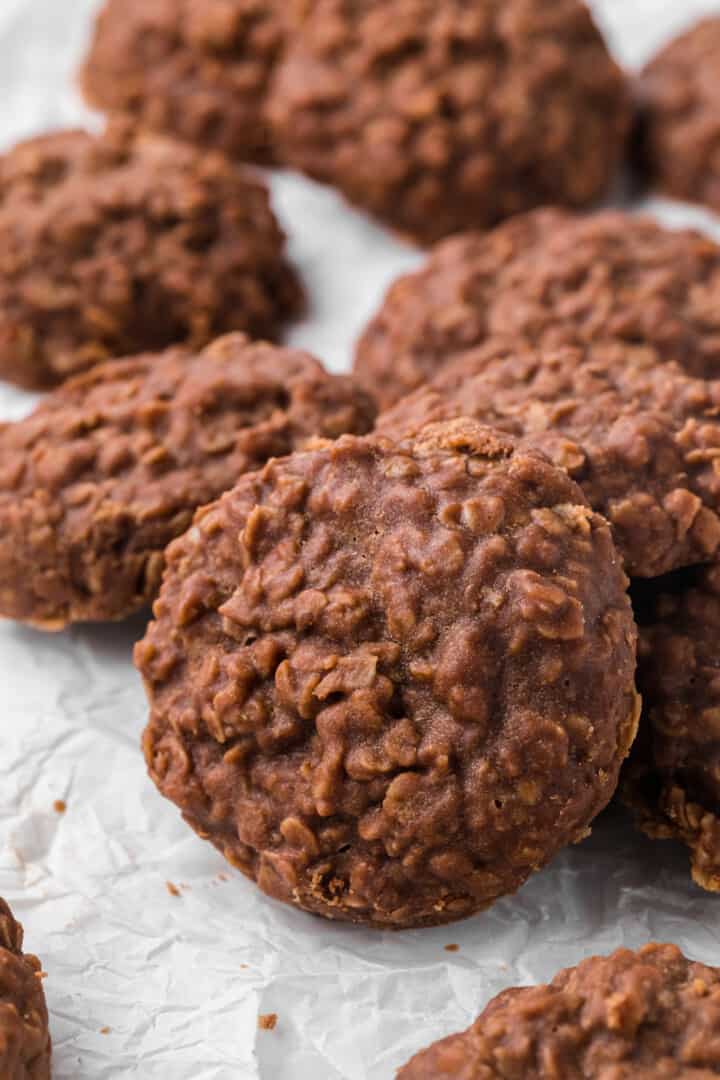
Set: Spoon the batter onto some parchment or wax paper and allow the cookies to set. This could take up to 30 minutes.
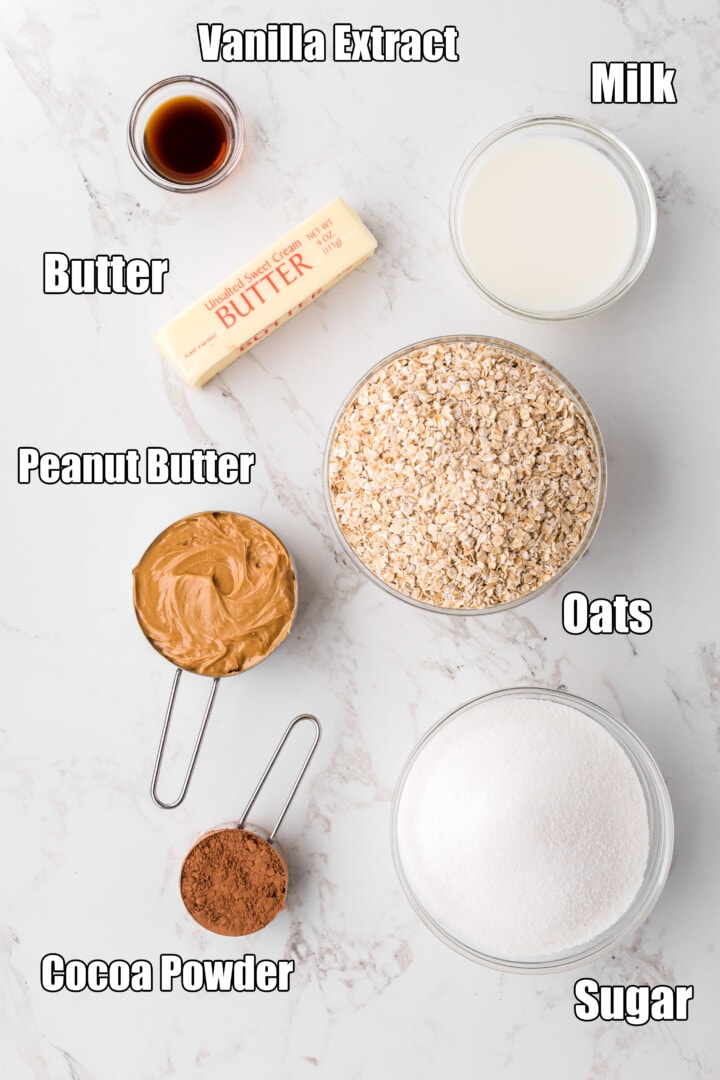
Ingredients:
- Sugar: I used granulated white sugar. This gives the cookies the perfect sweetness.
- Milk: I typically have 2% milk on hand but any milk you have on hand works with this recipe.
- Unsalted Butter: The butter gives these cookies the perfect texture and rich taste.
- Cocoa Powder: I used unseated cocoa powder. Sweetened would be too much and this gives the cookies the best chocolate taste.
- Quick Oats: I find that quick oats work best for this recipe.
- Creamy Peanut Butter: A creamy no-stir peanut butter recipe works best with this recipe.
- Vanilla Extract: This adds even more flavor to these cookies.
Directions:
Step one: In a large pot add sugar, milk, butter, and cocoa powder. Slowly bring to a boil while whisking.
Once at a boil allow boiling for one minute. I even set a timer and stopped the whisking and only let it go for that one minute.
- Cooking Tip: Do Not Over Cook. 1 Minute is the PERFECT time!
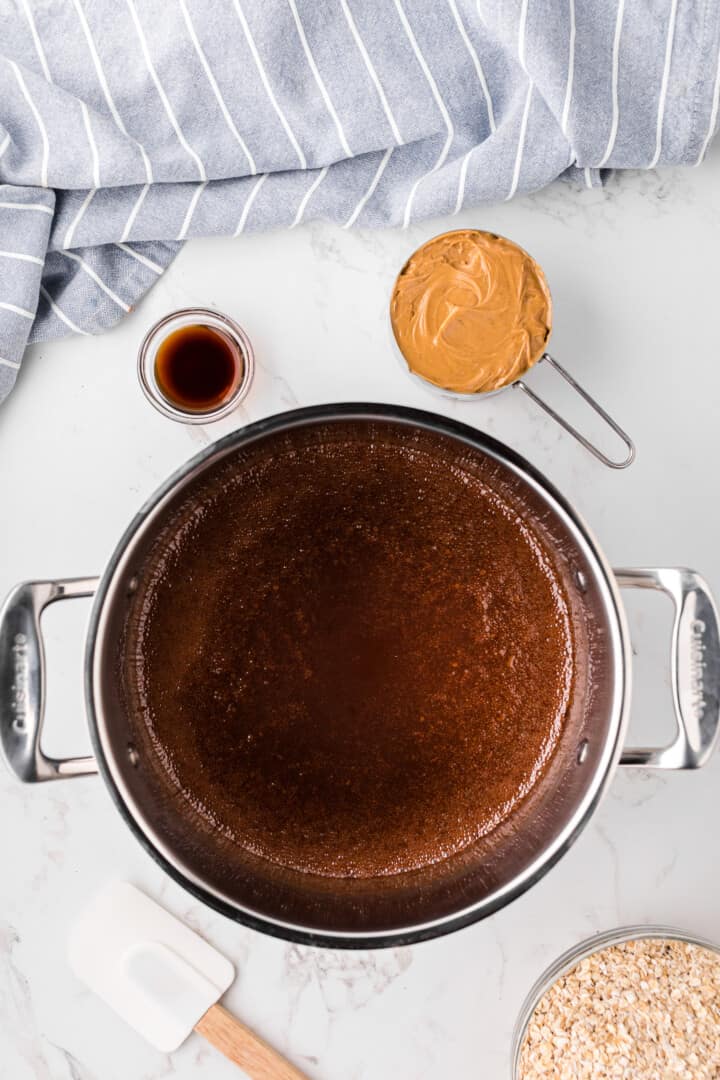
Step two: Remove from heat and add in oats.
Mix well. Add in peanut butter, mix well. Last, add in vanilla extract and mix well.
- Tip: Do not mix in another bowl. Add your oats and peanut butter into your warm pot.
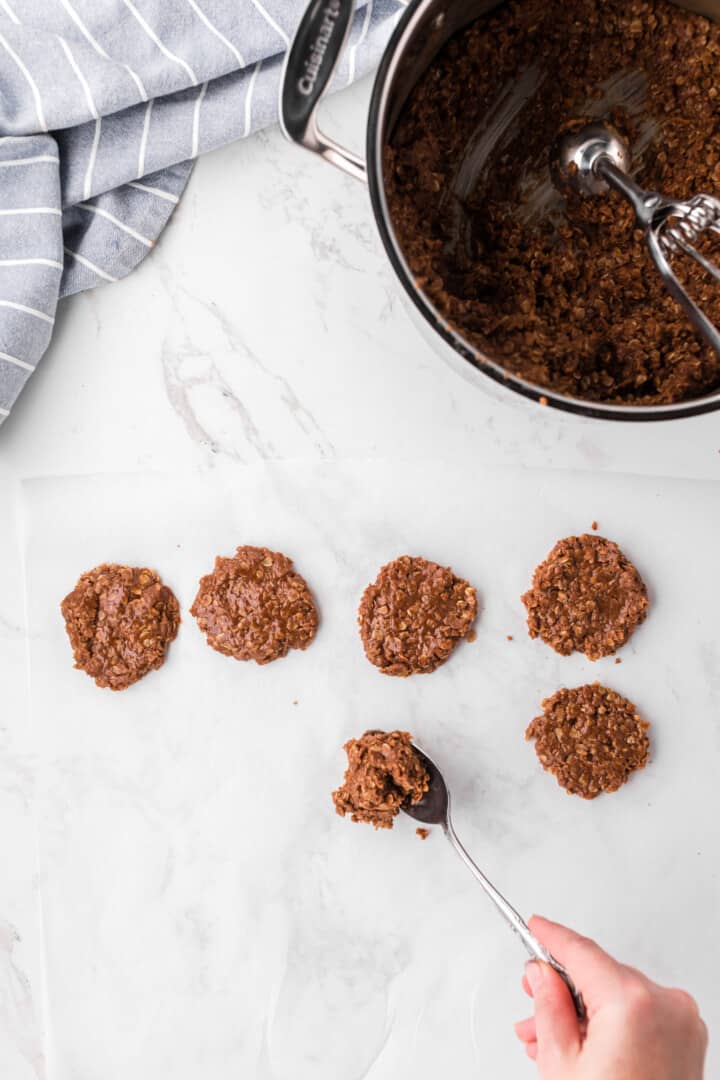
Step three: Lay out parchment paper on the counter and spoon out the dough into cookie shapes.
Allow sitting for 15-30 minutes.
These No Bake Cookies are Perfect Every Time:
Don't get discouraged if this recipe doesn't work out the first time you try it.
It took me a while to perfect these No Bake Cookies, and it may take you a while too.
The key is when you cook the sugar and butter.
Don't overcook or burn it.
Also do not let it cool too quickly so that when you add the oats it helps soften them and melts the peanut butter.
Tips and FAQs:
- Oats: I typically use quick oats for this recipe. I have found after testing that they work best.
- Butter: For this recipe make sure you are using real butter not margarine. It will make a difference until how they set.
- Setting time: These cookies could take 20-30 minuets to set. If your house is too hot, I will sometimes open a window or even stick them in the fridge.
- Pro Tip: This recipe moves fast and over boiling or letting things sit to long could mess it up. I always prepare all ingredients before starting and measure everything out so I can move quick.
How to store No Bake Cookies:
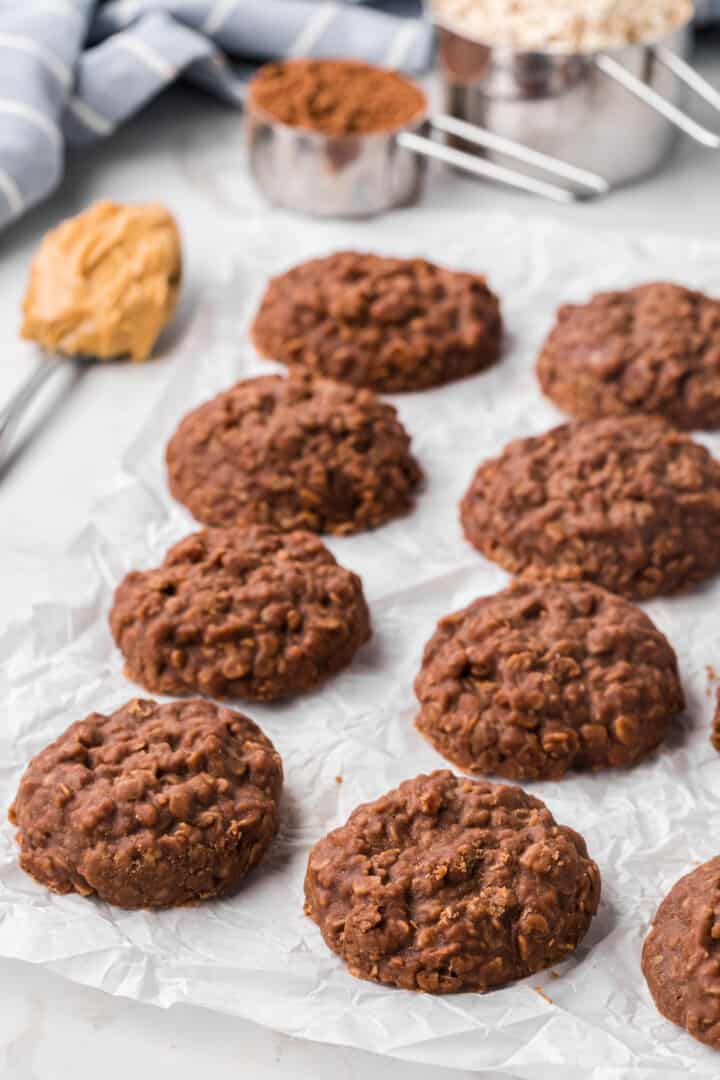
Once the cookies have set and are firm, you can store them in an airtight container.
Separate each layer by parchment paper so they do not all stick together.
Store the cookies on the counter or in the refrigerator for up to 7 days.
If you tried this recipe or any of my recipes, I would love to hear from you, leave me a comment below. You can also connect with me on FACEBOOK, INSTAGRAM, PINTEREST, and YOUTUBE.
I would love for you to follow along and discover more amazing recipes.
Show me what you are making, tag us, or use hashtag #TDOARH

No-Bake Cookies
Ingredients
- 2 cups sugar
- ½ cup milk
- ½ cup unsalted butter
- ¼ cup cocoa powder
- 3 cups quick oats
- 1 cup creamy peanut butter
- 1 tablespoon vanilla extract
Instructions
- In a large pot add sugar, milk, butter, and cocoa powder. Slowly bring to a boil while whisking. Once at a boil allow to boil for one minute (I set a timer and stopped the whisking).
- Remove from heat and add in oats. Mix well. Add in peanut butter, mix well. Last add in vanilla extract and mix well.
- Lay out parchment paper on the counter and spoon out the dough into cookie shapes. Allow to set for 15-30 minutes.
Video
Notes
Nutrition


Hello, I was wondering can I use crunchy peanut butter for this recipe or will it mess it up? Or maybe I can use half crunchy half creamy to equal one cup? Thoughts?
I have not tried with crunchy so I'm not sure how well it would work.
I did this for a bake sale and it was sooo good thank you for makin this recipe
Awesome! Thanks for letting me know! So glad you liked this recipe!
These are amazing. I followed the recipe exactly as you have it written. I’ve tried to make them in the past and they never turn out right. Thank you!!
I have been struggling to find a no-bake recipe that ends in success! This is it! I followed your very explicit directions - thank you, and had everything ready in advance. You still need to work quickly to spoon the cookies on to the parchment, but the results are perfection!!!
Thank you, so much!!
These cookies were fantastic! Definitely a big hit with my family. I added some ground almond and black walnut to the mix. Thank you for sharing this recipe.
Glad you liked them and tried them!
These are my sons favorite cookie. I male these for him every Christmas. This recipe is definitely perfectly. They came out perfect the first try. Thank you and Merry Christmas.
These are delicious! Kitchen smelled like fudge and cookies set up perfectly. Your tips are so valuable. Thanks for the recipe!
I am so glad you liked it Erica!
How should I store these cookies? Refrigerate or can you put in cookie jar.
A cookie jar would work great!
This is the first recipe for No Bake cookies that has ever turned out for me! They are delicious.
Thank you so much!
I will continue to try more of your recipes from now on!
I am so glad you liked then Tricia!
Great recipe! So easy. They turned out amazingly!!!! Thanks for all your work! They are supposed to be for a party tomorrow……hope they last that long!
Yah! So happy to hear that!
Excellent recipe!!
Thank you Peggy!
I have been craving these for a while. Excited I found your recipe. It was super easy to make. Since I don't have parchment paper I am try to see how it turns out in a 9×13 glass pan. I am certain it will take a bit longer to set but willing to wait and make just place in the fridge to help set. Crossing fingers it turns out ok. Either way the mix it self is tasty 😉
Just made these and they are pretty yummy! I just wish it would have said "quick oats" instead of "oats" on the ingredients. Now we need to chew hard since I didn't see that you suggested it until after glancing at the ingredient list and making them. I can definitely see why you use quick oats instead. 😝 I would also do a less amount of oats since they're so overwhelming. Other than that though, these cookies are so good! Thank you for sharing!
Thanks for sharing this. I have updated the recipe to say Quick Oats. Appreciate the feedback!
These are so delicious. Turned out great. I do add 1/3cup cocoa instead of 1/4 cup. I also add a little more oatmeal.
Thank you for the recipe
I have not made no bake cookies since I was a little girl!
Now I’m making them for my little boys!
Thanks for the wonderful memories growing up !
I am so happy to hear that! I hope you boys loved them.
I have a severe nut allergy and would like to know if you or anyone else has used sunflower butter?
I'm sorry, but I have not tried this recipe with sunflower butter. I imagine it would work, but again haven't tried myself.
My daughter has nut allergies and I use WOW Butter/Sunflower butter in place of anything that requires peanut butter and you can't tell a difference, taste wise.
I made these without peanut butter due to a nut allergy in the family. They turned out great.
I love this recipe ! After I take the pan off the heat I put my Jif or Skippy Natural creamy peanut butter in so it can melt and add my quick oats in, stir it up and then I put a lid on it put it in the cold garage on the floor while preparing something else to bake in the oven. Then I grab my no bake mixture and spoon it out on parchment paper or waxed paper. 😋 yummy
These are my favorites my Mom has made them for me since I was little!
Everyone loves these! I used almond milk since I usually don't drink cow milk. It was a perfect substitute. Next time I will try to substitute half or all the sugar with monk fruit sugar.
These are my sons favorite cookie. I make them for his birthday and christmas. This recipe is definitely the best I have tried. They came out perfect the first try.
I have made these No-Bake cookies two times. They are easy and delicious. My husband loves them.
So glad to hear that!
Is there something I can do to the oats if they are the old fashioned kind? Not the Quick oats?
I made these using old fashioned oats as I was out of Quick Oats. I put mine in a food processor and pulsed them a couple times so they weren't so large and they came out great!Don't overpulse or you'll have oat powder! Hope this helps you .
I'm wondering if I can freeze these for later? My fiancé won't eat them and I could but don't want to eat them all by myself lol.
Yes you can. I would place them on a baking sheet to freeze then place them in a freezer bag so they don't all stick together. They can stay on the freezer for up to 3 months.
Can i use all natural jif peanut butter? Just wondering if it changes the consistency.
I have not tried that but I think it would work. As long as it's well mixed before and not separated or to oily.
That's the peanut butter we use and it’s great!
Can you use semi sweet baking chips instead of cocoa? I'm out of it and payday is a few days away
I have never tried it and these cookies are very easy to mess up and not set so I wouldn't suggest it but like I said I never tried it.
I made these & my turned out kind of crumbling. They turned kinda of dry. Uggh! Followed recipe to a T. I live in Ks it is cloudy.
Yes that's what I use is Skippy Natural or Jif Natural , I've even used the creamy peanut butter from Aldi.
I love this recipe!